Parallel Parking for the G2 Test: Step-by-Step Guide
Parallel parking is the part of the G2 road test people dread most. It is also the most fixable, because it is a sequence, not a talent. Once you know where to stop, when to turn the wheel and what to look for out the back window, it becomes repeatable.
This guide walks through the parallel parking steps from the Official MTO Driver’s Handbook, then covers the other parking skills that come up on the test: hill parking, reverse parking and the roadside stop.
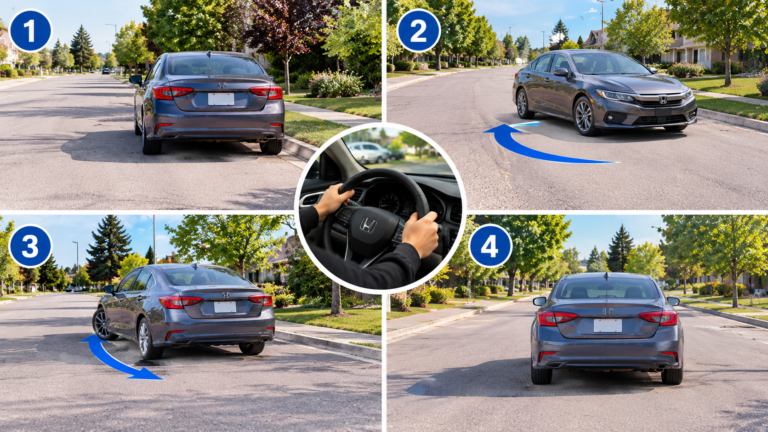
Parallel Parking in Four Steps
Line up, reverse with the wheel to the curb, straighten, then finish parallel.
1
Line up
Pull alongside the car ahead of the space, about a metre away, and stop with your rear bumper in line with theirs.
2
Reverse, wheel to the curb
Back up slowly with the steering wheel turned fully toward the curb.
3
Straighten, then wheel to the road
When you can see the front car’s outside rear corner, straighten up. Then turn the wheel fully toward the road.
4
Adjust and finish
If you are not parallel, drive forward to straighten. Adjusting is part of the method, not a mistake.
Simplified diagram for study. Steps follow the Official MTO Driver’s Handbook.
Is Parallel Parking on the G2 Test?
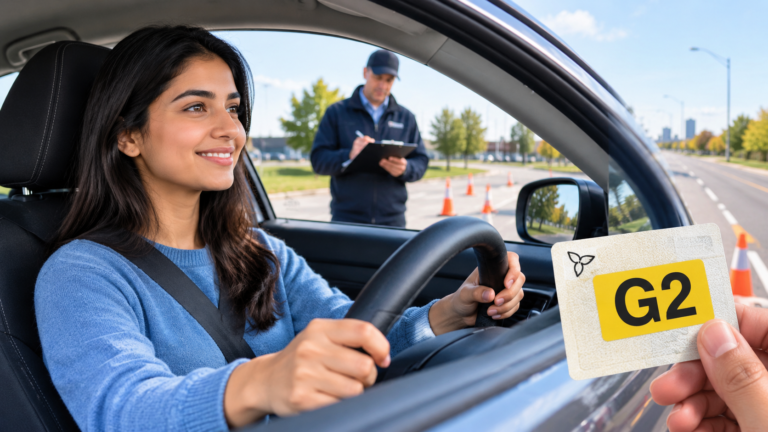
Yes. The Ontario government lists parallel parking among the basic driving skills the G2 road test checks, alongside turning, stopping, lane changes, one-way streets, three-point turns and driving in residential neighbourhoods.
So plan for it. You will not know in advance whether the examiner asks you to do it, and assuming you will get away without it is how people end up freezing at the curb.
Does the G Test Include Parallel Parking?
This is where it gets interesting, and where a lot of outdated advice online is simply wrong.
DriveTest has temporarily modified the G road test at full-time DriveTest Centres. The modified G test does not include these elements, because they are already covered in the G2 road test:
- Parallel parking
- Roadside stops
- Three-point turns
- Driving in residential neighbourhoods
It still covers everything fundamental: major roads and expressways, merging on and off, speed and space, signalling, turns, curves, lane changes, intersections and business-area driving.
Important: part-time Travel Point locations continue to offer the standard G road test. So do not assume parallel parking is gone from your G test — it depends where you book. And this is a temporary change, so check DriveTest before your test date.
How Do You Parallel Park, Step by Step?
Here is the method from the Official MTO Driver’s Handbook. Practise it exactly this way until it is automatic.
Before you start
- Find a space about one and a half times longer than your vehicle. Anything tighter is a test you do not need to give yourself.
- Check the traffic beside and behind you, then signal that you intend to pull over and stop.
- Drive alongside the vehicle ahead of the empty space, leaving about a metre between the two cars.
- Stop when your rear bumper is in line with theirs.
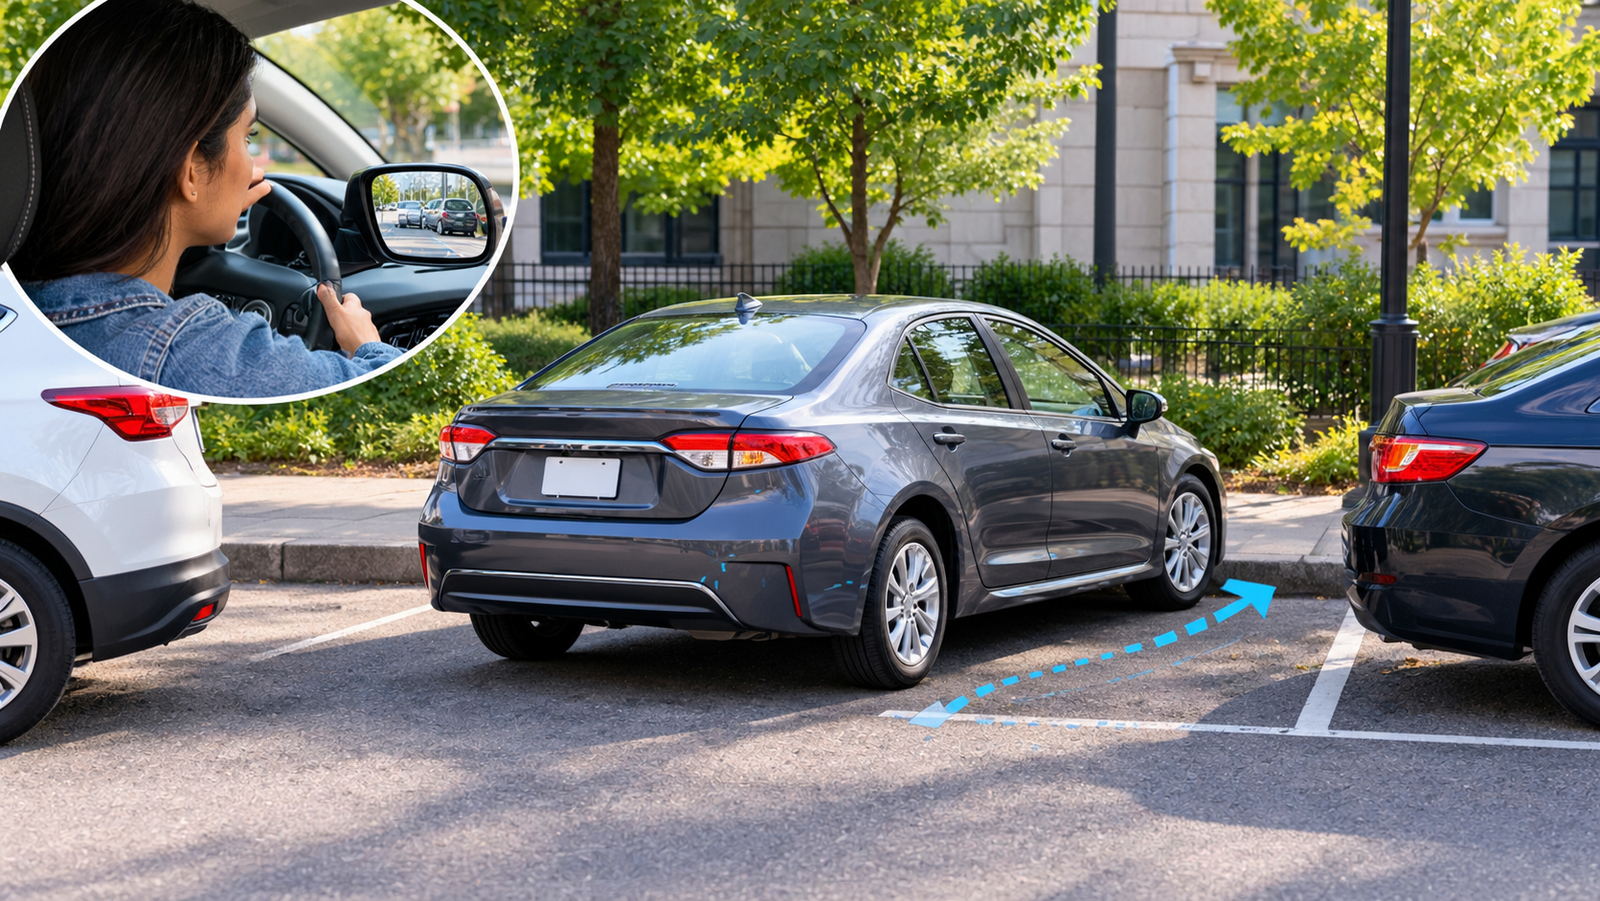
The four steps
- Reverse slowly and carefully into the space, turning the steering wheel fully toward the curb.
- When you can see the outside rear corner of the vehicle in front of your space, straighten your wheels and keep reversing.
- Turn the steering wheel fully toward the road to bring your vehicle in line with the curb.
- If you are not parallel to the curb, drive forward to straighten up.
Finishing the park
- Set the parking brake and move the gear selector into park (or first or reverse gear in a manual).
- Turn off the engine and remove the key.
- Check traffic before opening your door, then lock your vehicle.
On a road test you will not be turning the engine off, but the examiner is watching for the same control: a calm, deliberate finish rather than a rushed one.
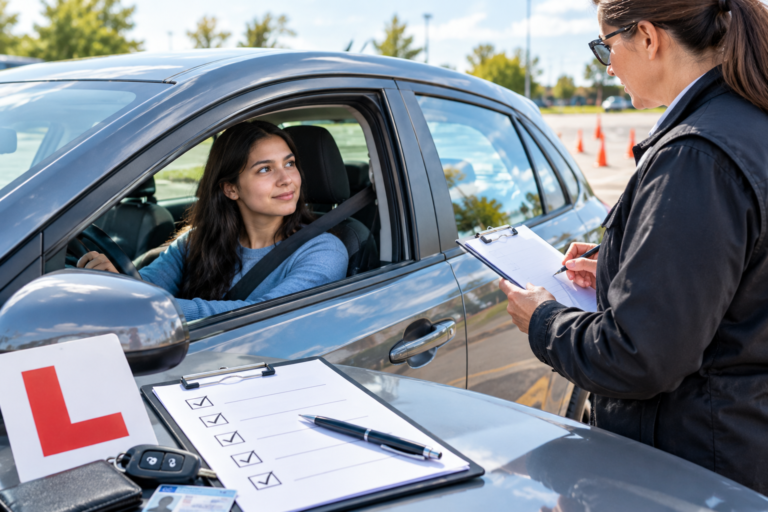
What Is the Examiner Actually Looking For?
People assume the examiner wants a perfect first attempt. What they are really watching is:
| They watch for | What that means in practice |
| Observation | Checking mirrors and blind spots before and during the manoeuvre, not just staring backwards |
| Control | Slow, smooth reversing — speed is what turns a small error into a big one |
| Judgment | Choosing a safe moment to start, and stopping if something changes behind you |
| Position | Ending up parallel and close to the curb without touching it |
The handbook itself says that if your vehicle is not parallel to the curb, drive forward to straighten. Adjusting is part of the method, not a mistake. A calm correction looks far better than a crooked park you leave alone.
How Do You Practise Parallel Parking?
- Start with cones or an empty curb in a quiet lot, so there is nothing to hit while you learn the sequence.
- Learn your reference points. Every car is different. Find out where your rear bumper lines up, and what you see in your mirror when it is time to straighten.
- Say the steps out loud while you do them. Wheel to the curb, straighten, wheel to the road, adjust.
- Then practise between two real cars, with a generous space at first and a tighter one later.
- Finally, practise on a real street with traffic behind you, because the pressure is the part most people have not rehearsed.
If you are working through the other tested skills too, our road test tips guide covers observation, stops and intersections the same way.
What Are the Most Common Parallel Parking Mistakes?
- Going too fast. Reversing quickly is the single biggest cause of a bad park. Slow is smooth.
- Starting from the wrong position. If you do not line up your rear bumper with the other car’s, every step after that is off.
- Only looking backwards. Keep checking around you — a cyclist or pedestrian can appear mid-manoeuvre.
- Turning the wheel while stopped, repeatedly, instead of steering as the car moves.
- Refusing to adjust. Driving forward to straighten is in the handbook. Use it.
- Parking too far from the curb. Practise until you can judge the gap without guessing.
How Do You Park on a Hill?
Hill parking comes up in the handbook and is worth knowing cold, because it is easy to reverse the rules under pressure.
| Situation | Which way to turn your front wheels | Why |
| Facing downhill (with a curb) | Toward the curb | Stops the vehicle rolling into traffic if the brakes let go |
| Facing uphill (with a curb) | Toward the road | The tires catch the curb if the vehicle rolls back |
| Facing uphill (no curb) | Sharply to the right | If it rolls, it goes off the road rather than into traffic |
Whenever you park on a hill, set the parking brake and put the gear selector in park (or first or reverse in a manual). Turn off the engine, remove the key, check for traffic before opening your door, and lock the vehicle.
Is Reverse Parking on the G2 Test?
Reversing is part of what you should be able to do. DriveTest lists parking, reversing and three-point turns among the skills to practise before a road test, and reversing is built into parallel parking itself.
Backing into a parking space in a lot is a useful everyday skill, but the manoeuvre the Ontario government names for the G2 test is parallel parking. Practise both, and expect parallel parking.
What Is a Roadside Stop, and Is It Tested?
A roadside stop is pulling over safely at the side of the road and then rejoining traffic. Some people call it an “emergency stop” or “emergency parking”, although the handbook simply calls it a roadside stop. It is listed among the elements that the G2 road test covers.
Pulling over
- Before slowing, check your mirrors and blind spot to see when the way is clear.
- Turn on your signal before slowing down — but wait until you have passed any side roads or driveways between you and your stopping point, so other drivers do not think you are turning.
- Steer to the side, reducing speed steadily, and stop parallel to the curb or edge of the road. You should be no more than about 30 centimetres from it.
- Do not stop where you would block an entrance or other traffic.
- Turn off your signal and turn on your hazard lights, then set the parking brake and put the car in park.
Pulling back out
- Release the parking brake and select drive (or first gear).
- Turn off your hazards and turn on your left-turn signal.
- Just before pulling away, check your mirrors and your blind spot for vehicles and cyclists.
- Accelerate smoothly to blend with traffic moderately in light traffic, more quickly in heavy traffic.
- Cancel your left-turn signal as soon as you are back on the road.
Practise It With Someone Watching
Parallel parking is the classic skill that feels impossible alone and clicks in one lesson with an instructor beside you, because they can see the reference points you are missing. Go Drive Driving School’s G2 driving lessons in Barrie include focused practice on parking and manoeuvres, with feedback after every attempt. See our programs and fees or contact us at 705-717-0406.
Getting ready for the rest of the test? Start with the G2 road test guide and the G2 road test checklist
FAQs
Is parallel parking on the G2 test in Ontario?
Yes. Ontario lists parallel parking among the basic skills the G2 road test checks.
Do you have to parallel park on the G test?
At full-time DriveTest Centres the G road test has been temporarily modified and does not include parallel parking. Part-time Travel Point locations still offer the standard G road test, so check with DriveTest before your test.
How big should the parking space be?
About one and a half times the length of your vehicle, according to the handbook.
How far from the curb should I end up?
Close and parallel. For a roadside stop the handbook gives a figure of no more than about 30 centimetres from the curb, which is a good target for parallel parking too.
Can I adjust if I get it wrong?
Yes. The handbook’s own method says to drive forward to straighten if you are not parallel. Adjusting calmly is better than leaving a bad park.
What happens if I hit the curb?
It depends on how and how hard. The examiner scores your control and safety overall, so a light touch while correcting is not the same as mounting the curb. Practise until you can judge the distance without contact.
Which way do I turn my wheels parking downhill?
Toward the curb, so the vehicle cannot roll into traffic.
Do I need to parallel park on the right side of the road?
Park on the right side, in the direction of traffic, unless signs say vehicles should park at an angle. On a one-way road you can park on both sides unless signs say otherwise.